The Last Caretaker focuses on restarting humanity after what appears to be the melting of the ice caps. Everything is water, with a few last effort installations above water. I'd recommend the Steam reviews and such for more detail. You will love this game if:
- You like collecting resources
- You like boats and living on boats
- You do like to shoot at things from time to time
I am committing these instructions to page because while I searched, I could not find any such learning out there.
I have seen several Care Takers mount large amounts of fluid tanks to the underside of their boat. They indicated that there was no penalty to doing so, and the tanks on the deck do get in the way a little bit. Being one to over engineer and also having enough resources to make storage an issue, I decided to do this. It was not as easy as it seemed. I finally got through it, and here is my lessons learned.
After writing these notes, almost the entire underside of my boat was detroyed or otherwise removed. A few connector ports remain, but all tanks were missing. I've since started to experiment with placement and if they were not simply to close to the sides.
Pick the right place to do the work
The last thing you want is to be working and be disturbed by the fury of the seas, or that the things that lurk beneath the seas take notice of you. The best place to work is in port, tucked into a hanger with the bay doors closed. This negates the weather and prevents sea life from entering, even at night.
Build your sub components before diving
Getting in and out of the pool is going to be annoying. Build out what you need ahead of time. Once you get going, you can start feeding your existing tanks below and removing the now empty tanks to reclaim more sub components.
While you float around, you also sink
The most infuriating part of this will be the dynamics of moving around underwater. If you get annoyed by how it works above decks, this will be an experiment flirting with the very essence of madness.
Electrical connector ports are your friend, or at least as close to a friend as you will have.
- Bring ONLY 2 or 3 lengths of electrical cable with you. The amount is important.
- Attach a port to the bottom of the ship in between your rows.
- Attach the electrical cable to the port and to yourself.
You should now find yourself dangling from the bottom of the ship. This reduces the degrees of movement you have under water and helps in getting that perfect placement. You will have to add more as you go along.
If you find yourself sinking all the way to the bottom, then you most likely have too much electrical cable on you.
Lights, They stay sunk until you touch them
Another good reason to do this work in a bunker is that the bottom surface is accessible. You can construct and operate lights underwater with no problem. The best light I found was the 360 degree light because you want the light to go up.
They stay anchored until you try to move them, then they suddenly become buoyant and drift out of place. Unless you want to be cracking glow sticks faster than a New York City rave, here is how I recommend it.
Find the centerline of the boat (the middle going down the long access). Down the centerline on the bottom hanger, put more electrical blocks. Maybe every 10 meters... the distance is up to you... this will determine how many lights to you end up with.
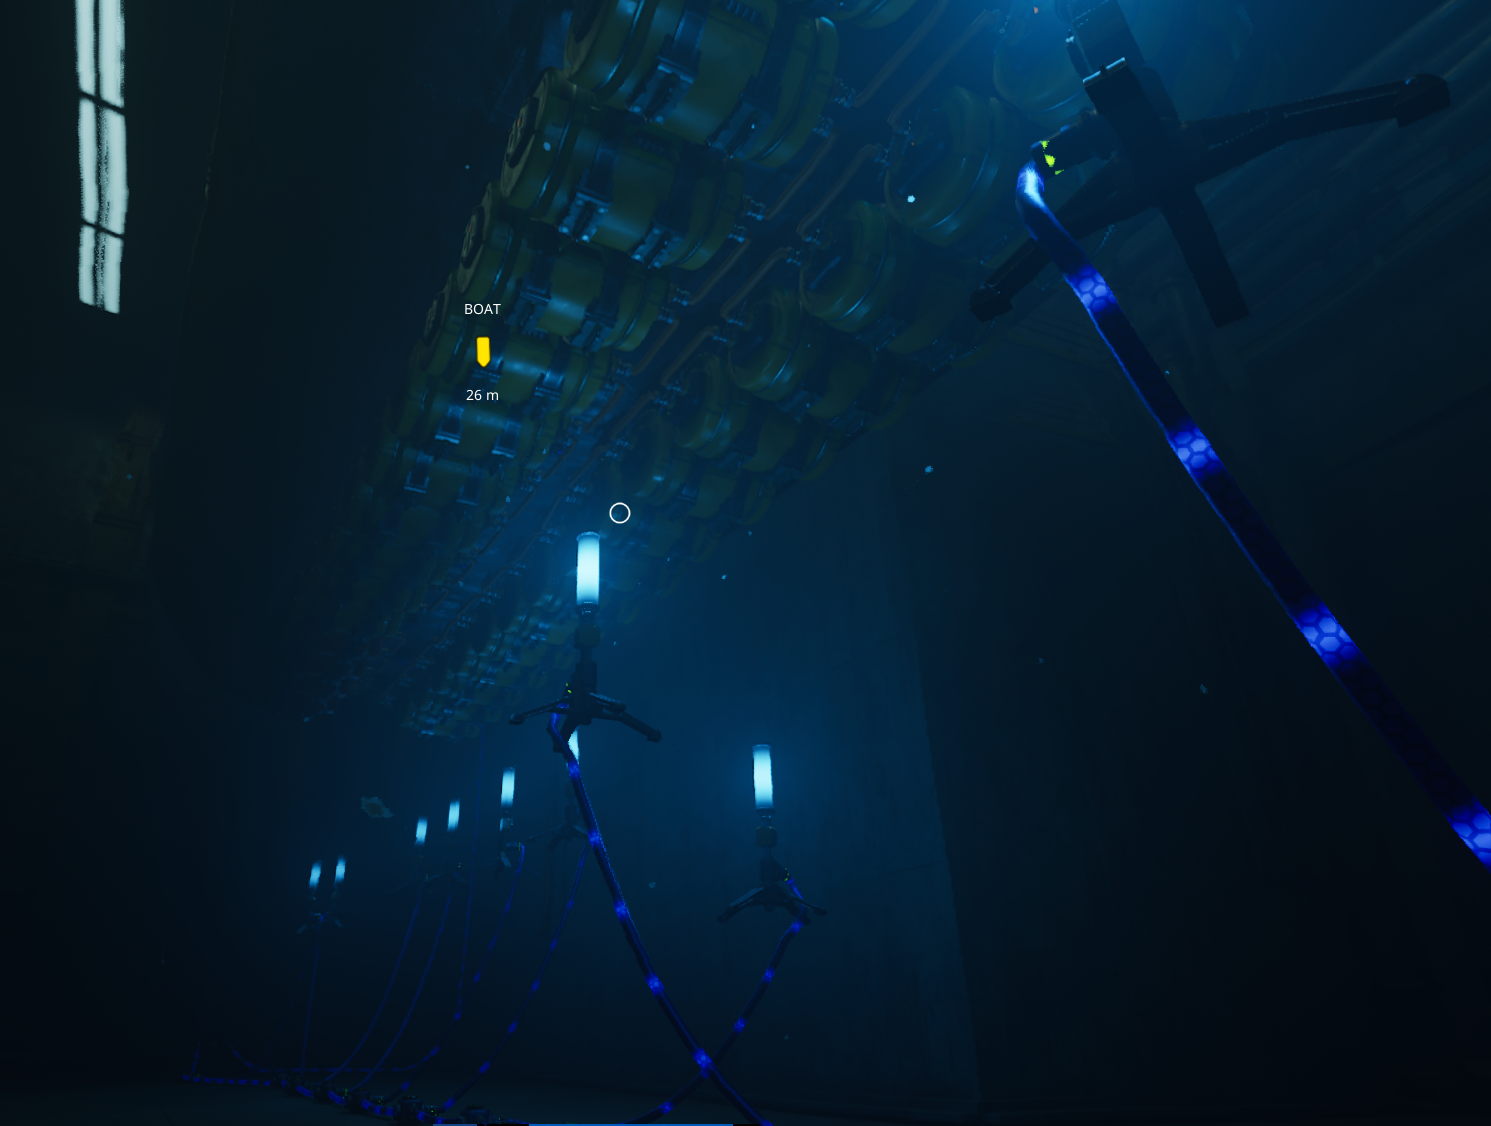
Connect all of them together in a line, then attach the one nearest to the dock end to the surface and a connector there. Helps to be able to turn them all of.
Now, next to each power block, go a few meters over to the side and build your 360 light... Not too far. How far you go determines how close to the bottom of the boat the light will be. You want it high enough to get light on your work area, but low enough that it does not block construction.
Connect your lights with electrical cable and make sure they work. Now grab and move the light a bit, let go, and it will float up toward the hull. When it runs out of cable, it will remain suspended in place below the boat.
Trans hull fluid dynamics
I constructed two very long rows of tanks, mostly diesel with a few petrol at the end. To connect to the ship wide stores, you will need to run pipe from the tanks to one of the hulls ports. To my obsessive nature, it made the most sense to connect at the front or the back. Unfortunately the rear of the ship does not provide a below decks area to route connector ports. So I opted to place them on the wall in the forward cabin, the up to the fore deck.
Use the seams of the hull for alignment.
The last tip, for those who are possessed with a compulsive disorder... the bottom of the hull has faint seams. You can use these to get the first few in place correctly. After that I find it is easier to to line them up with the previous ones.